
Trailing Closure Syntax in Swift and SwiftUI
Swift has a reputation for code that can sometimes look almost like a small language of its own, particularly when you start working with SwiftUI.
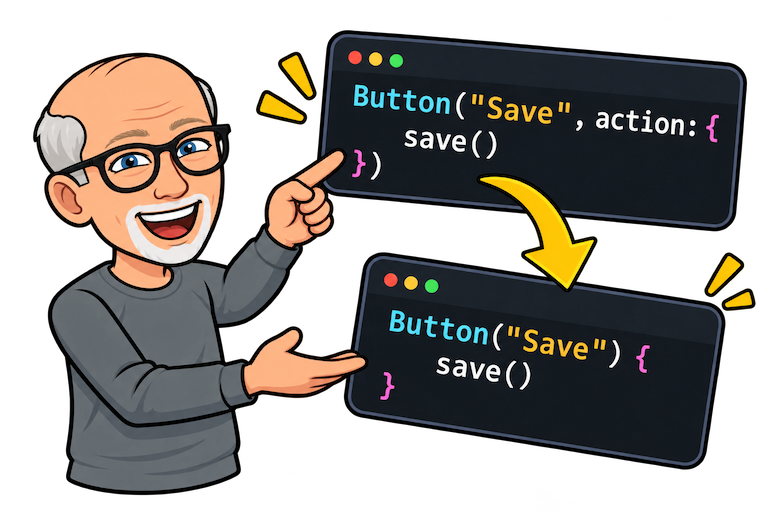
Consider these two calls:
Button("Save", action: { save()})and:
Button("Save") { save()}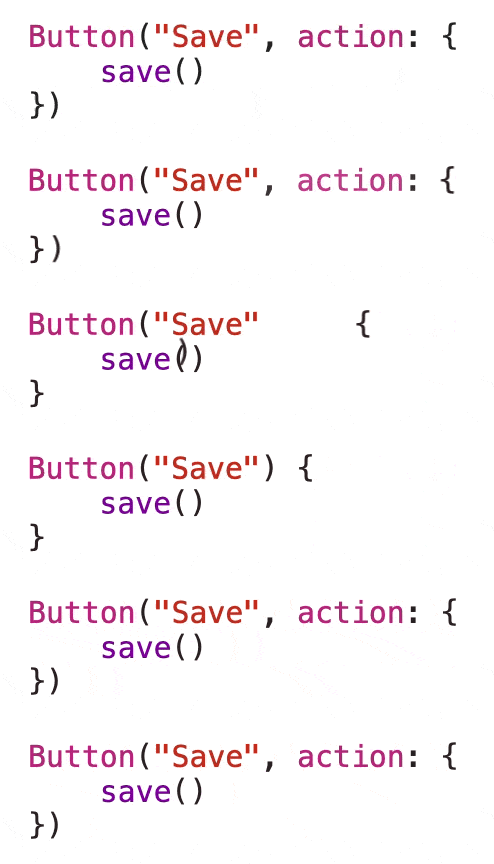
They do exactly the same thing.
The second version is the one you are much more likely to see in SwiftUI code, but if you do not understand how Swift gets from the first form to the second, constructs such as Button, List, ForEach, and modifiers like onDelete can look more mysterious than they really are.
The key is trailing closure syntax.
I have a complete video on this topic if you would prefer to watch rather than read.<br>Understanding Swift Trailing Closure Syntax https://www.youtube.com/watch?v=E71HEvSZkZo
In this post, we will start without using trailing closure syntax at all. Then we will progressively rewrite the same code using Swift's trailing closure rules. Along the way, we will look at closures with parameters, functions with multiple closure parameters, SwiftUI buttons, lists, ForEach, and passing a named function where a closure is expected.
The goal is not simply to memorize the syntax. It is to understand why the syntax works.
What Is a Closure?
Before looking at trailing closures, it helps to remember what a closure actually is.
A closure is a self-contained block of functionality that can be stored in a variable or constant, passed to another function, and executed later.
Start with a simple function:
func sayHello() { print("Hello")}sayHello()Its function type is:
() -> VoidIt accepts no parameters and returns nothing.
We can create a closure with the same type:
let sayHello: () -> Void = { print("Hello")}sayHello()Swift can infer the type, so this can usually be shortened to:
let sayHello = { print("Hello")}sayHello()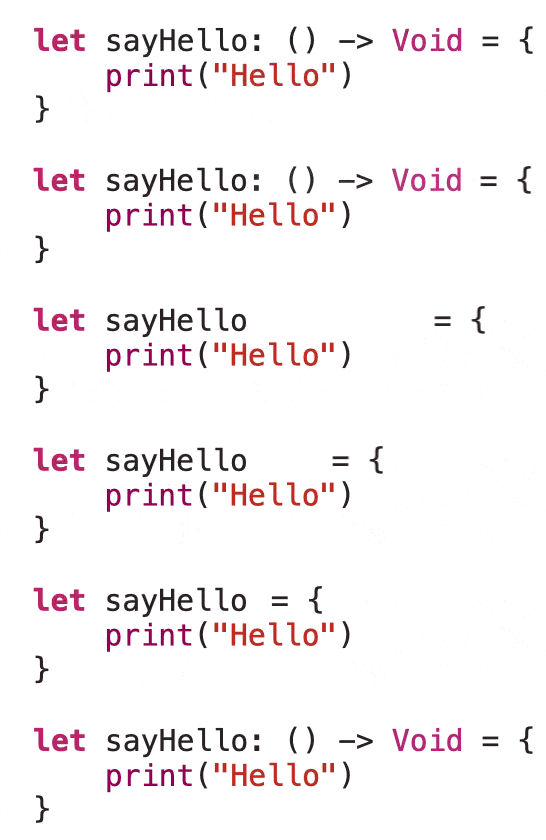
The important point is that the value stored in sayHello is executable code.
A Closure With a Parameter
A closure can also receive values.
Consider this function:
func sayHello(_ name: String) { print("Hello, \(name)")}sayHello("Stewart")Its type is:
(String) -> VoidWe can create a closure with the same type:
let sayHello: (String) -> Void = { name in print("Hello, \(name)")}sayHello("Stewart")The closure receives a String, gives that value the local name name, and then uses it in the closure body.
This becomes important when we start passing closures into functions.
Note: In this case, Swift cannot infer the type, so we need to specify it explicitly as
(String) -> Void.
Passing a Closure to a Function
Let's create a function that accepts two parameters:
- A
String - A closure to execute when the function has finished its work
func sayHello( _ name: String, completion: () -> Void) { print("Hello, \(name)") completion()}For now, we will deliberately avoid trailing closure syntax.
Here is the complete call:
sayHello( "Stewart", completion: { print("Done") })There is nothing special happening here.
"Stewart" is the first argument.
The second argument is a closure:
{ print("Done")}That closure is being supplied to the completion parameter.
When sayHello reaches this line:
completion()the closure executes and prints:
DoneThis explicit form is useful because it shows exactly what is being passed to the function.
Our First Trailing Closure
Now look again at the function declaration:
func sayHello( _ name: String, completion: () -> Void)The final parameter is a closure.
Swift allows a closure that appears at the end of a function's parameter list to be moved outside the parentheses. That is where the term transformation by moving the closing parenthesis ahead of the closure and removing its argument label.
Start with:
sayHello( "Stewart", completion: { print("Done") })Move the closing parenthesis so that it comes immediately after "Stewart":
sayHello("Stewart") { print("Done")}Once the closure is outside the parentheses, the completion: label disappears.
Both versions call exactly the same function.
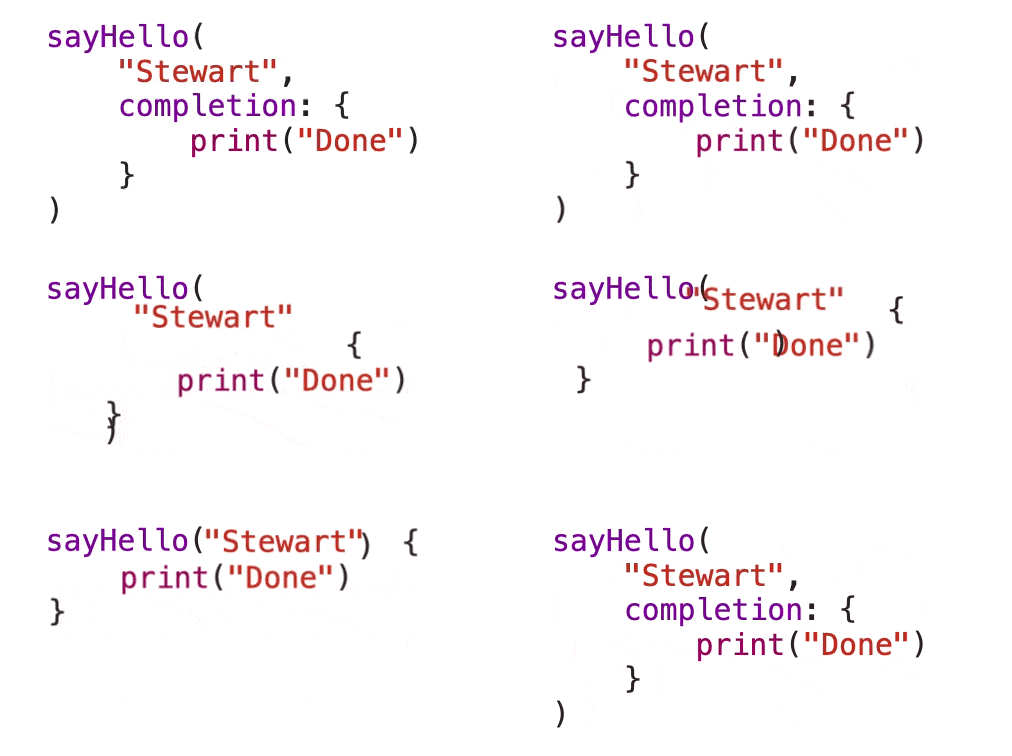
Without trailing closure syntax
sayHello( "Stewart", completion: { print("Done") })With trailing closure syntax
sayHello("Stewart") { print("Done")}This is the fundamental transformation to understand.
A Trailing Closure That Receives a Value
The closure itself can have parameters.
Let's change our function:
func sayHello( _ name: String, completion: (String) -> Void) { print("Hello, \(name)") let reversedName = String(name.reversed()) completion(reversedName)}This time the completion closure must accept a String.
Without trailing closure syntax, the call could be written as:
sayHello( "Stewart", completion: { reversedName in print("Your name reversed is \(reversedName)") })Using trailing closure syntax:
sayHello("Stewart") { reversedName in print("Your name reversed is \(reversedName)")}The in keyword separates the closure's parameters from its body.
The function passes reversedName into the closure here:
completion(reversedName)The call site gives that value a local name here:
{ reversedName in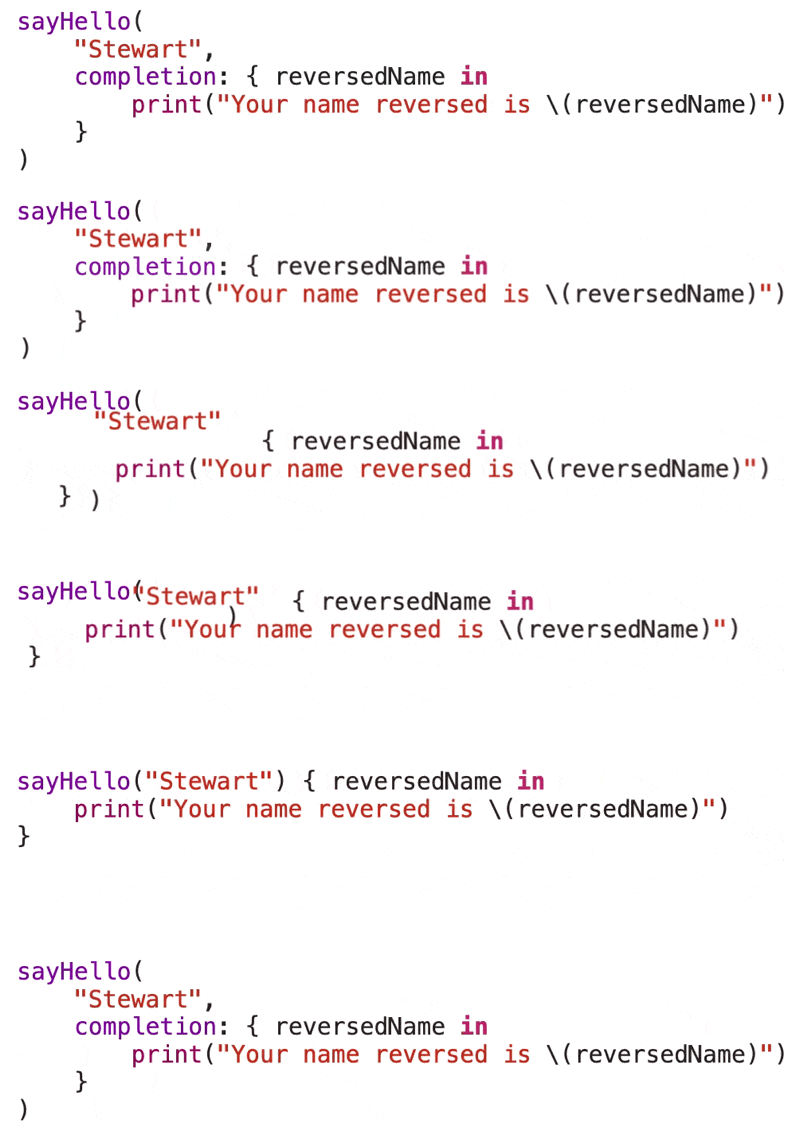
This is the same pattern you see constantly in SwiftUI.
What About Multiple Closures?
This is where trailing closure syntax can initially become confusing.
Suppose we have a function with one ordinary parameter followed by three closure parameters. The same call can be written in several valid forms.
First, define an error:
enum TaskError: LocalizedError { case oddNumber var errorDescription: String? { "The value must be an even number." }}Now create the function:
func performTask( value: Int, onSuccess: () -> Void, onFailure: (Error) -> Void, onProgress: (Double) -> Void) { guard value.isMultiple(of: 2) else { onFailure(TaskError.oddNumber) return } for step in 0...value { let progress = Double(step) / Double(value) onProgress(progress) } onSuccess()}There is one Int parameter and three closure parameters.
Version 1: No trailing closures
We can write every closure inside the function call:
performTask( value: 10, onSuccess: { print("Done") }, onFailure: { error in print(error.localizedDescription) }, onProgress: { progress in print(progress) })This is valid Swift.
It is also useful when learning because every closure is visibly associated with its parameter label.
Version 2: Move Only the Last Closure
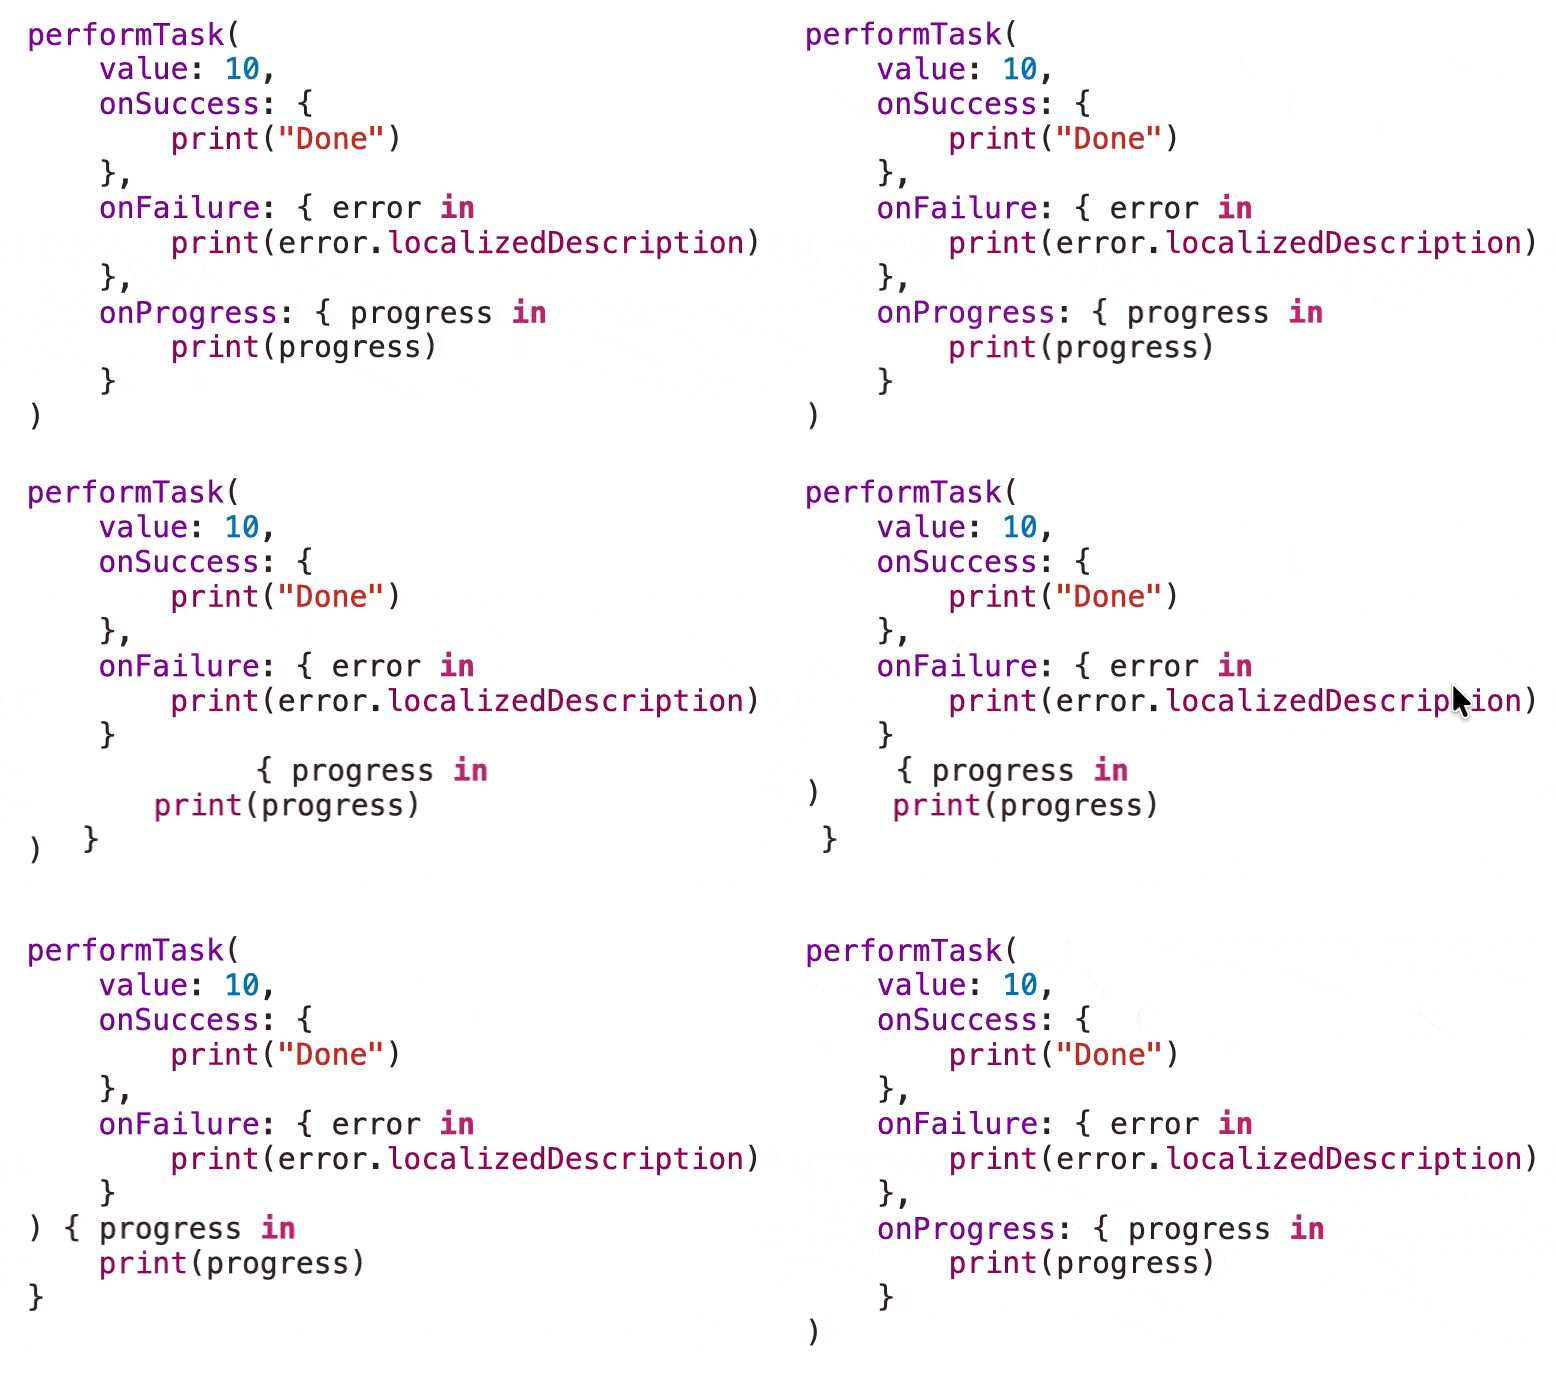
Because onProgress is the final closure parameter, we can move only that closure outside the parentheses:
performTask( value: 10, onSuccess: { print("Done") }, onFailure: { error in print(error.localizedDescription) }) { progress in print(progress)}The onProgress: label disappears because this is now the first trailing closure.
The other arguments remain inside the parentheses.
Version 3: Move the Last Two Closures
We can move another closure outside the parentheses:
performTask( value: 10, onSuccess: { print("Done") }) { error in print(error.localizedDescription)} onProgress: { progress in print(progress)}Notice something important.
The first trailing closure does not have a label:
{ error inThe additional trailing closure does:
onProgress: { progress in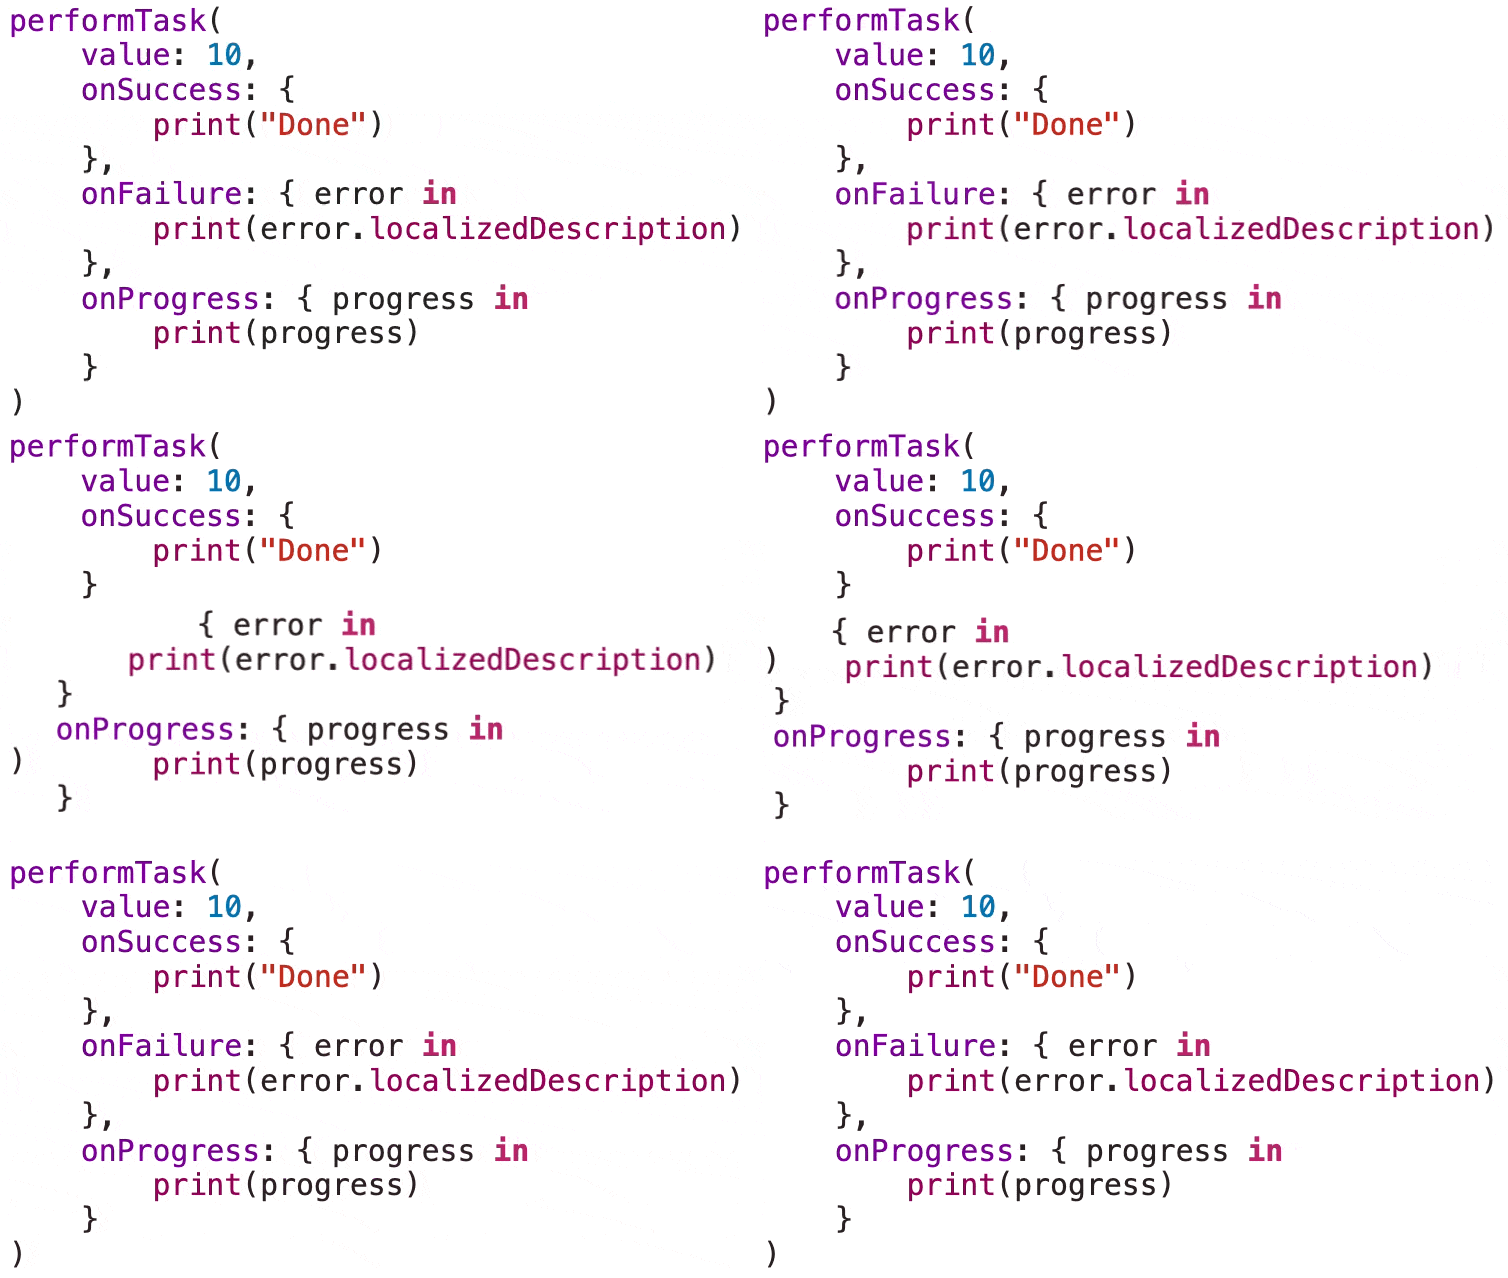
Swift needs those later labels so that it can determine which closure is which.
Version 4: Multiple Trailing Closure Syntax
We can move all three closures outside the parentheses:
performTask(value: 10) { print("Done")} onFailure: { error in print(error.localizedDescription)} onProgress: { progress in print(progress)}Now only the non-closure argument remains inside the parentheses.
The first trailing closure corresponds to onSuccess, so its label is omitted.
The following closures retain their labels:
onFailure:onProgress: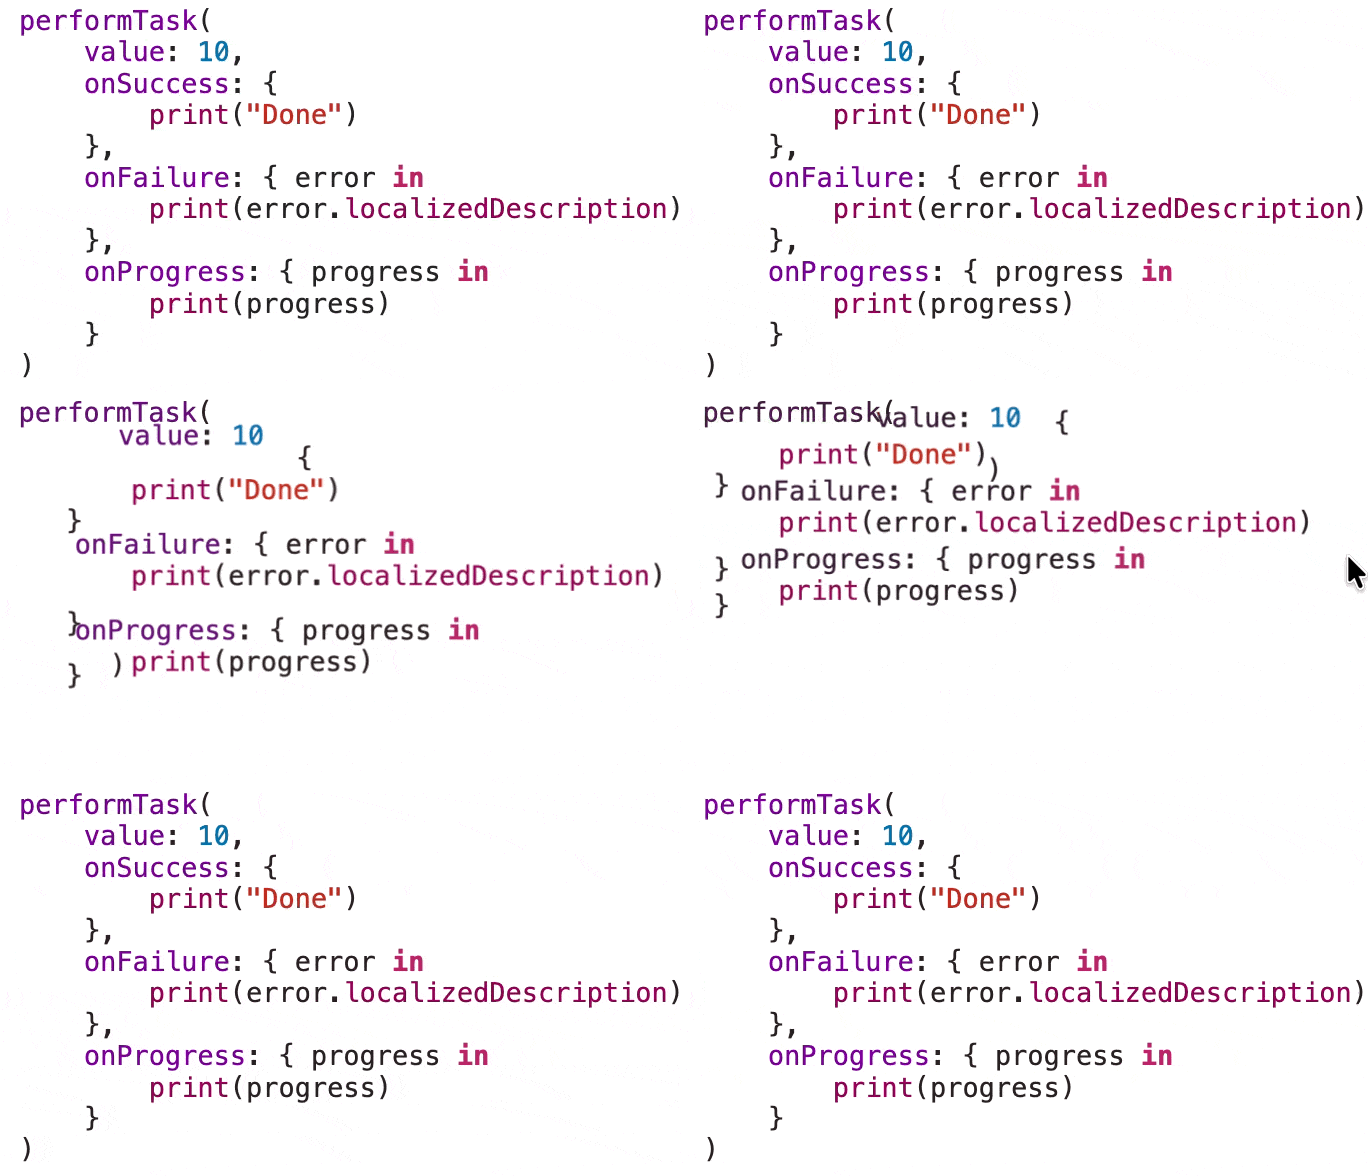
This is the form you are most likely to encounter in modern Swift.
It is also the pattern that makes many SwiftUI initializers look so different from a traditional function call.
The Rule to Remember
When a function has trailing closure parameters:
- Ordinary arguments stay inside the parentheses.<br>- The first closure moved outside the parentheses does not use its<br>argument label.<br>- Additional trailing closures keep their labels.<br>- If there are no arguments left inside the parentheses, Swift may<br>allow the empty parentheses to be omitted.
That last point becomes especially noticeable in SwiftUI.
Applying This to SwiftUI
Now that we understand the language feature, SwiftUI syntax becomes much easier to read.
These same rules apply directly to common SwiftUI APIs such as Button, List, ForEach, and onDelete.
Button With a String Title
One common Button initializer accepts a title and an action.
Conceptually, it looks like this:
Button( _ title: String, action: () -> Void)Without trailing closure syntax:
Button( "Button 2", action: { print("Button 2") })There is nothing unusual here. "Button 1" is the first argument and the closure is passed to action.
Because action is the final closure parameter, we can move it outside:
Button("Button 2") { print("Button 2")}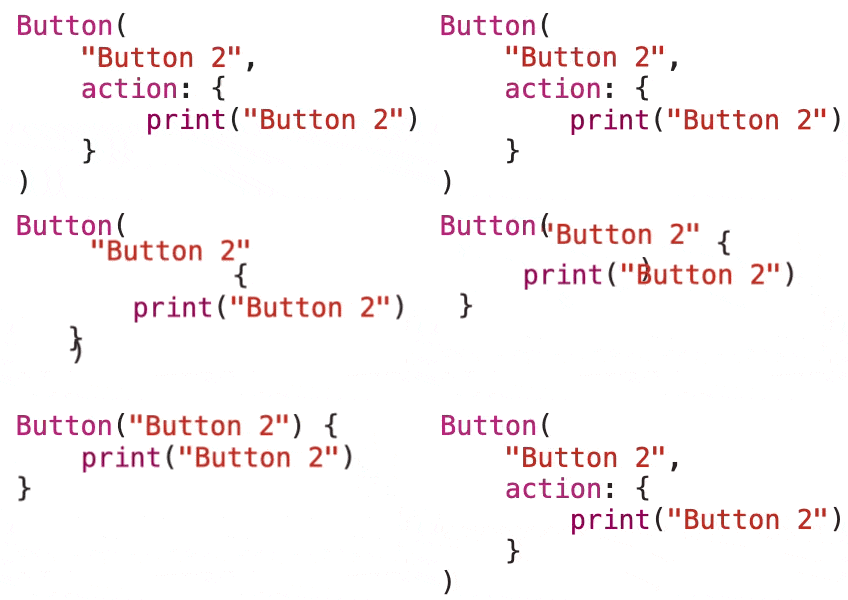
This is the syntax we normally use.
Once you understand the transformation, it is easier to see that SwiftUI is not doing anything magical.
Button With a Custom Label
A different Button initializer lets us create our own label.
Conceptually, it has two closures:
Button( action: () -> Void, label: () -> Label)Without any trailing closure syntax:
Button( action: { print("Button 3") }, label: { Image(systemName: "plus.circle.fill") })Both arguments are closures.
Moving only the final closure
We could move only label outside the parentheses:
Button( action: { print("Button 3") }) { Image(systemName: "plus.circle.fill")}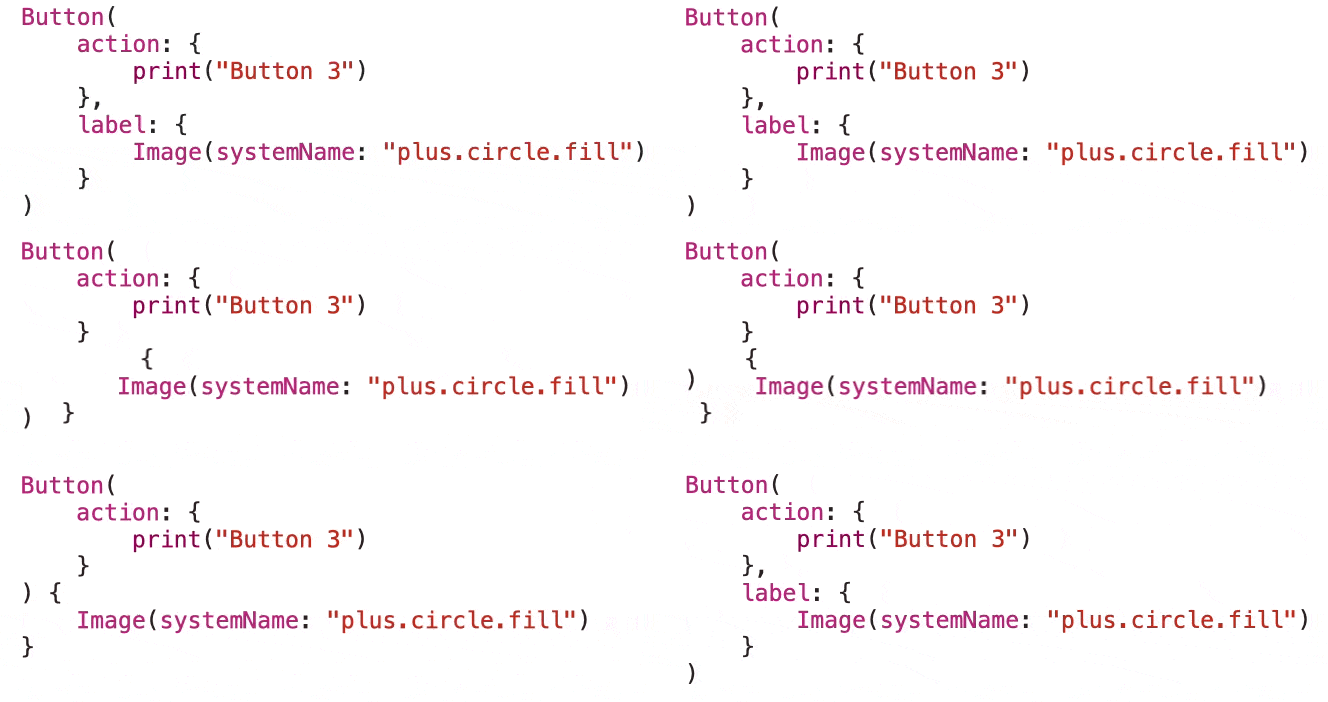
This is valid, but it is not the form you are most likely to use.
Using multiple trailing closures
Instead, move both closures outside:
Button { print("Button 3")} label: { Image(systemName: "plus.circle.fill")}The first trailing closure corresponds to action, so the action: label disappears.
The second closure keeps its label: label.
This is a perfect example of multiple trailing closure syntax.
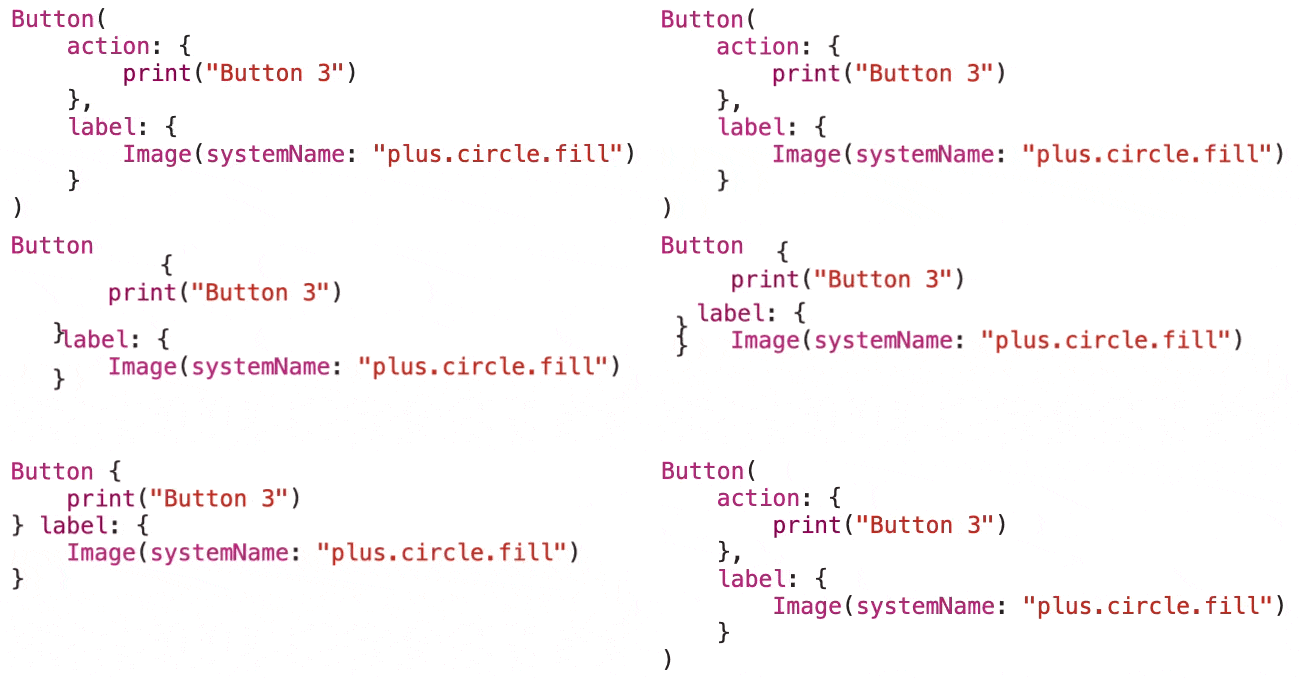
The second version exposes the initializer more clearly. The first version is idiomatic SwiftUI.
List and Row Content
The same idea applies to List.
Suppose we have:
let items = [ "One", "Two", "Three"]We can create a list without trailing closure syntax:
List( items, id: \.self, rowContent: { item in Text(item) })The rowContent argument is a closure that receives one item and returns the view for that row.
Because it is the final closure, it can move outside:
List(items, id: \.self) { item in Text(item)}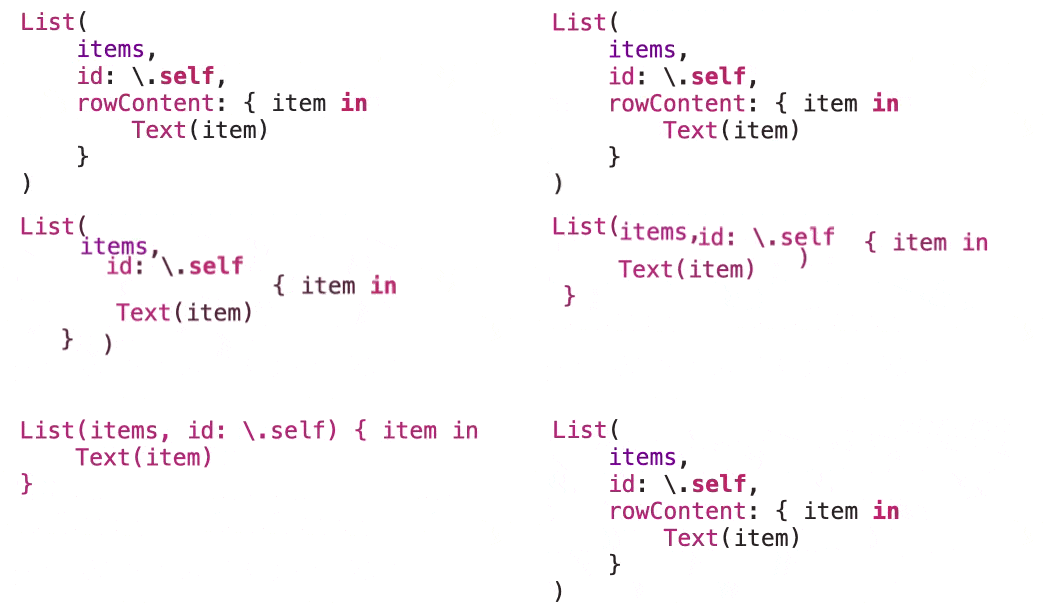
Again, nothing about the behavior changed.
We simply applied trailing closure syntax.
ForEach Works the Same Way
Now suppose the array is mutable state:
@State private var items = [ "One", "Two", "Three"]We might build the list with ForEach:
List { ForEach( items, id: \.self, content: { item in Text(item) } )}The content closure is the final argument, so we can move it outside:
List { ForEach(items, id: \.self) { item in Text(item) }}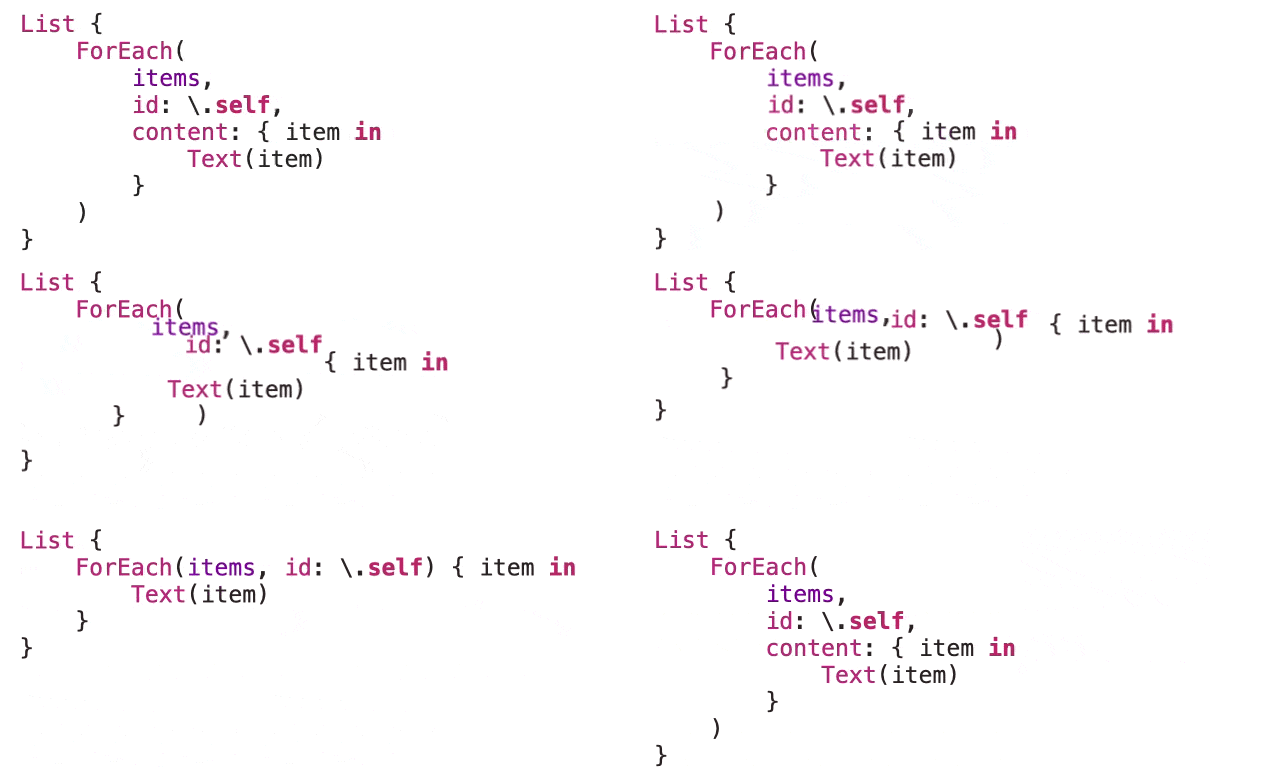
This is the form that looks natural in SwiftUI, but it follows exactly the same rule as our earlier sayHello example.
Modifiers Can Accept Closures Too
Trailing closure syntax is not limited to initializers.
Methods and modifiers can also accept closures.
For example, onDelete accepts a closure that receives an IndexSet.
We could write:
List { ForEach(items, id: \.self) { item in Text(item) } .onDelete( perform: { indexSet in items.remove(atOffsets: indexSet) } )}Because the closure is the final argument, we normally write:
List { ForEach(items, id: \.self) { item in Text(item) } .onDelete { indexSet in items.remove(atOffsets: indexSet) }}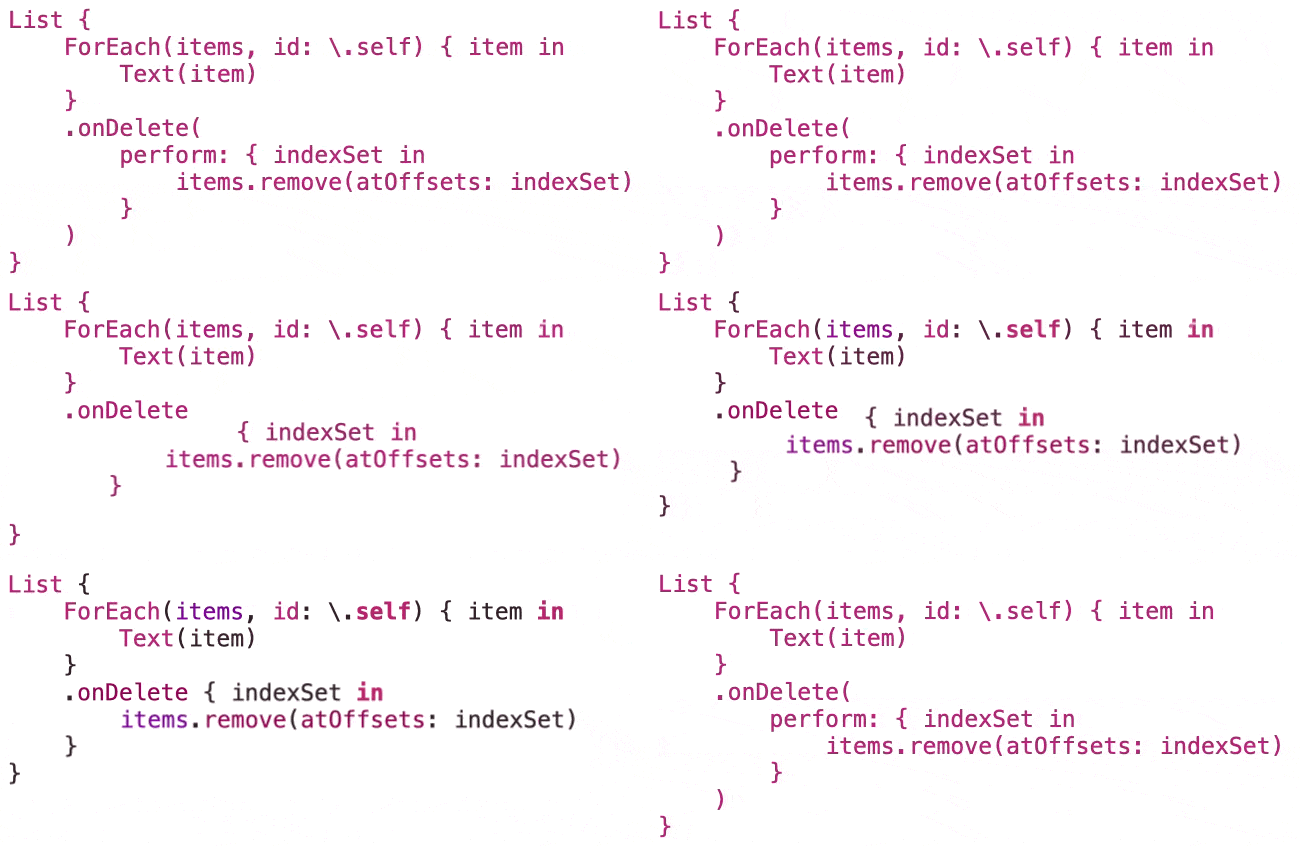
Same method. Same closure. Cleaner call site.
A Function Can Satisfy a Closure Parameter
There is one final step that is worth understanding.
This closure:
{ indexSet in items.remove(atOffsets: indexSet)}has the type:
(IndexSet) -> VoidNow create a function with the same type:
private func deleteRows(at indexSet: IndexSet) { items.remove(atOffsets: indexSet)}The function also accepts an IndexSet and returns Void.
That means it can be supplied anywhere Swift expects an replacing the inline onDelete closure with a named function.
We could write:
.onDelete(perform: deleteRows)Or, because perform is the only argument:
.onDelete(perform: deleteRows)In this case there is no closure expression to move outside the parentheses. We are passing the function itself as the argument.
This is an important distinction.
Compare:
.onDelete { indexSet in deleteRows(at: indexSet)}with:
.onDelete(perform: deleteRows)The first creates a new closure that calls deleteRows.
The second passes deleteRows directly.
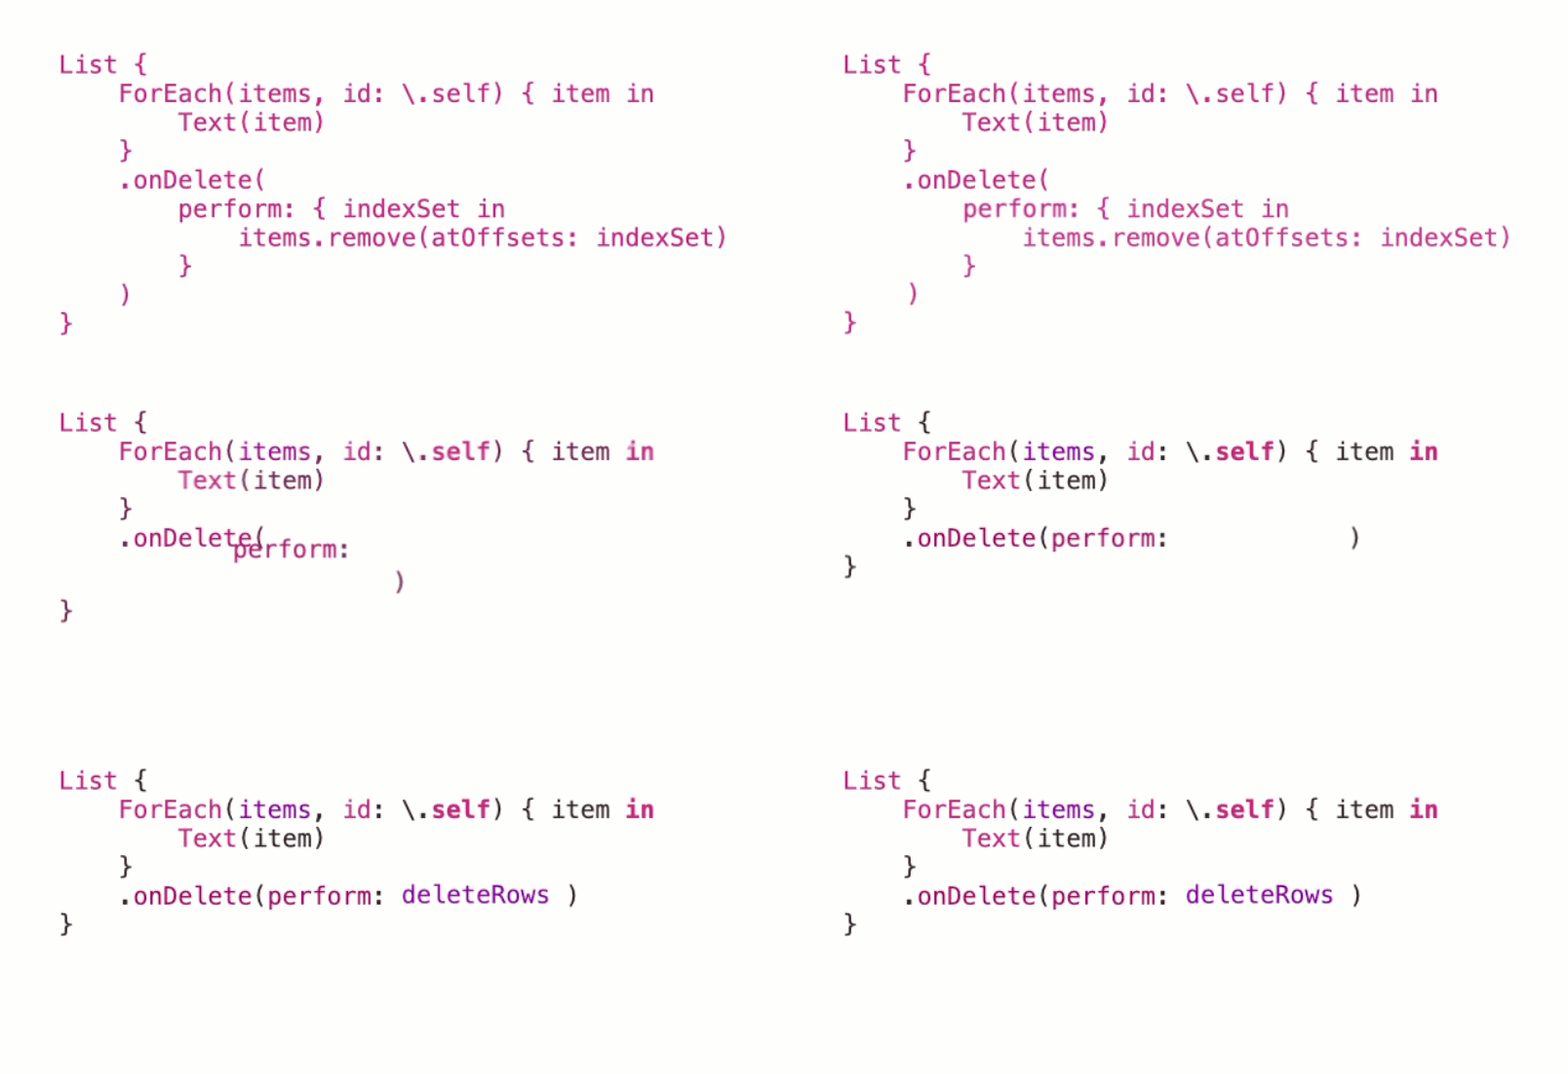
When the function signature already matches the required closure type, the direct form is often the simpler choice.
Putting It All Together
Here is a small SwiftUI example using several of the forms we have covered:
import SwiftUIstruct ContentView: View { @State private var items = [ "One", "Two", "Three" ] var body: some View { NavigationStack { List { ForEach(items, id: \.self) { item in Text(item) } .onDelete(perform: deleteRows) } .toolbar { Button { items.append("Item \(items.count + 1)") } label: { Label("Add Item", systemImage: "plus") } } .navigationTitle("Items") } } private func deleteRows(at indexSet: IndexSet) { items.remove(atOffsets: indexSet) }}There are several closures here:
List {ForEach(items, id: \.self) { item in.toolbar {and:
Button { items.append("Item \(items.count + 1)")} label: { Label("Add Item", systemImage: "plus")}Once you learn to recognize trailing closure syntax, these stop looking like special SwiftUI constructs. They are ordinary Swift function and initializer calls whose closure arguments have been moved outside their parentheses.
Reading SwiftUI From the Inside Out
When you encounter unfamiliar SwiftUI syntax, try mentally reversing the trailing closure transformation.
For example:
Button { save()} label: { Label("Save", systemImage: "square.and.arrow.down")}Think of it as:
Button( action: { save() }, label: { Label("Save", systemImage: "square.and.arrow.down") })Likewise:
List(items, id: \.self) { item in Text(item)}can be read as:
List( items, id: \.self, rowContent: { item in Text(item) })This is particularly useful when Xcode shows you an initializer that you do not immediately understand.
Look at its parameter list and ask:
- Which arguments are ordinary values?
- Which arguments are closures?
- Which closure is first in the trailing closure sequence?
- Which later closure labels must remain?
Once you answer those questions, the call site usually becomes much easier to understand.
Final Thoughts
Trailing closure syntax is not a SwiftUI feature. It is a Swift language feature that SwiftUI uses extensively.
The fully explicit form:
Button( action: { save() }, label: { Text("Save") })can be useful because it exposes exactly what the initializer expects.
The idiomatic Swift version:
Button { save()} label: { Text("Save")}expresses the same thing with less punctuation and less repetition.
Neither form changes what the initializer does.
Once you understand how to move a closure outside the parentheses, how multiple trailing closures are labeled, and how a named function can be passed wherever its signature matches a closure parameter, a large amount of SwiftUI syntax starts to make much more sense.
And that is really the point. Writing more idiomatic Swift is useful, but understanding the longer form first makes the shorter form far easier to read.